
My Go-To Beginner Sourdough Loaf
A step-by-step guide to baking your first loaf of sourdough.
I’ve been baking sourdough since February 2025. Luckily, I’ve never made an inedible loaf and that’s not to brag (although yes, I absolutely do pat myself on the back). It’s to share that it’s not as scary as it seems!
Hopefully between my last post, How to Make a Sourdough Starter (and Keep It Alive), and this one, you’ll have everything you need to feel confident, troubleshoot, and bake your first loaf from start to finish.
It probably took me ten bakes to get my recipe to a place I felt proud enough to share with you all. But that’s the beauty of sourdough! It’s not something you master overnight. Each loaf teaches you something new: about texture, timing, and patience. So if your first rise or crust isn’t absolute perfection, don’t be discouraged. That’s what makes it fun.
Another thing to note: sourdough is 100% dependent on your environment. The recipe that works for me here in Sacramento might need small tweaks in your kitchen. A little warmer, a little longer, maybe slightly more hydration. Think of this as your starting point and the foundation you’ll build on as you get to know your own rhythm and environment.
Understanding the Process (& the Why)
I learn best when I understand the why. While I won’t drag you through the full science experiment that is wild yeast, I do think it helps to know some of the lingo and logic behind every stretch, fold, and rise that makes sourdough so special.
First things first: let’s get familiar with a few key terms.
Sourdough Terms to Know
If you’re new to sourdough, there’s a bit of lingo that comes with the territory. Once you learn these, the process starts to make sense.
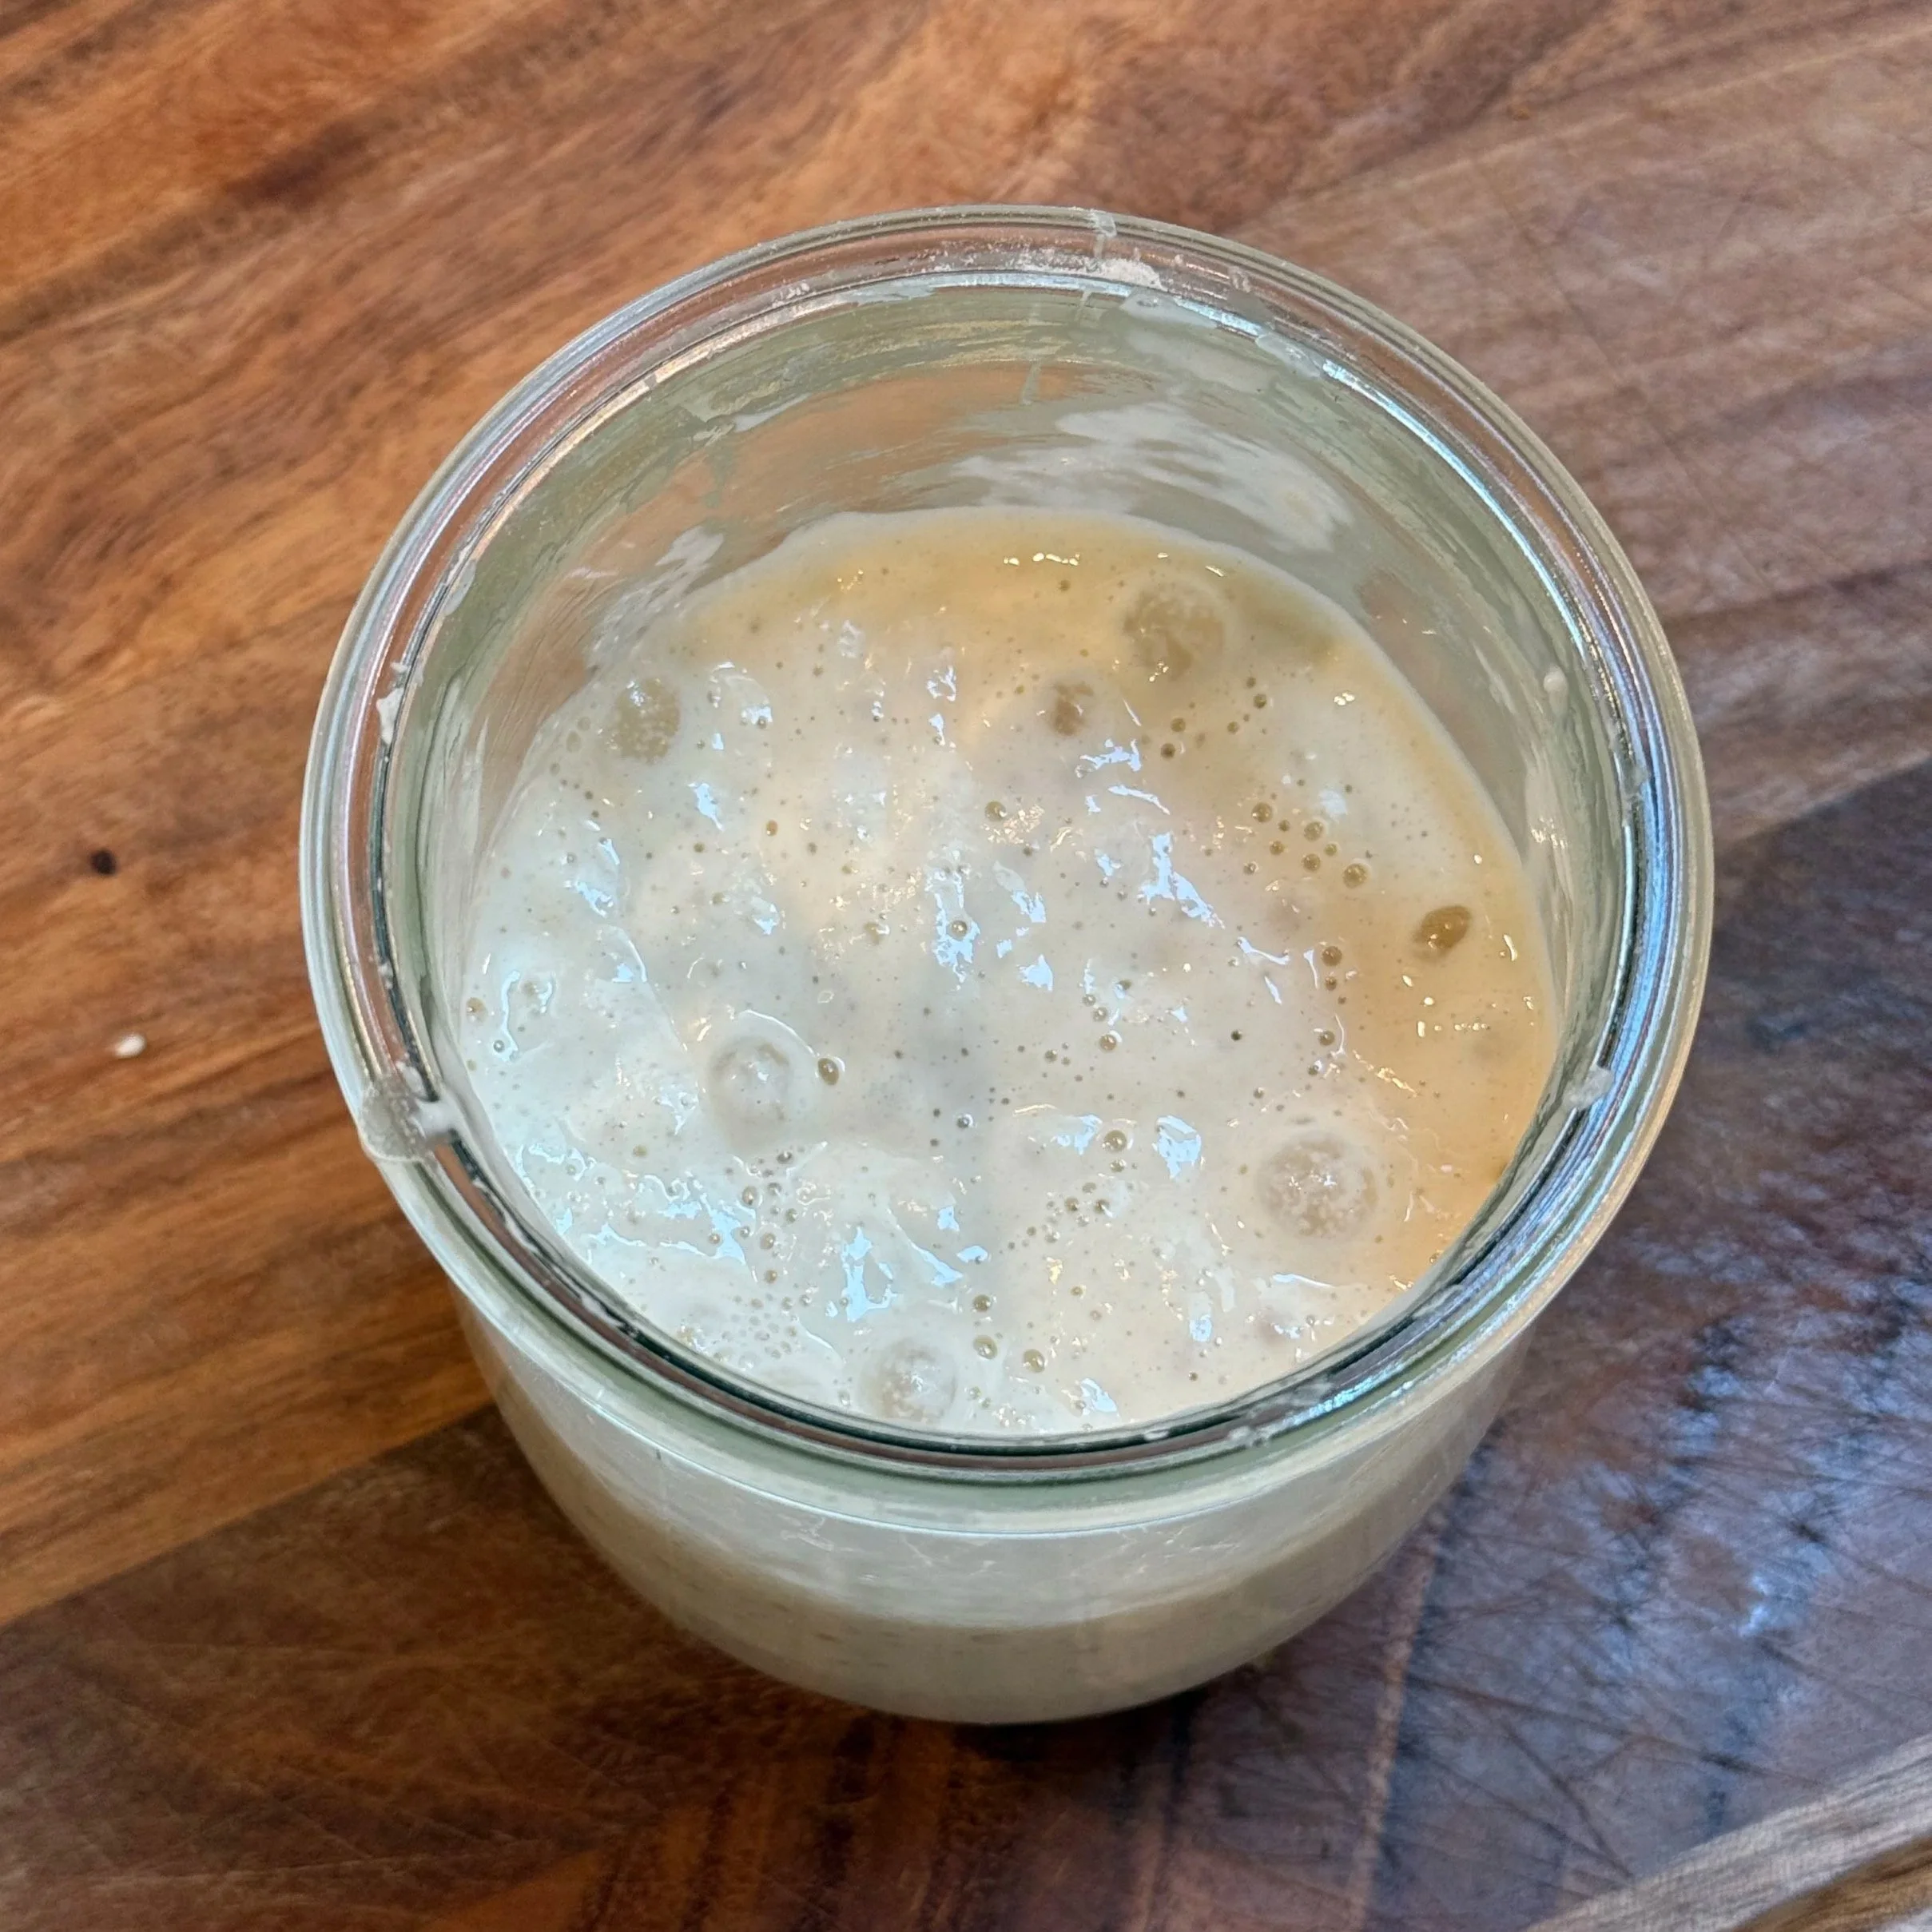
Starter: Your bubbly little science project. A mix of flour and water that captures wild yeast and bacteria from the air. It’s what gives sourdough its rise, flavor, and personality.
Discard: The portion of starter you remove before feeding it. You can toss it (sad!) or repurpose it for pancakes, crackers, muffins, or cookies.
Float Test: A quick way to check if your starter is ready to bake with. Drop a small spoonful into water and if it floats, it’s airy and active. If it sinks, it needs more time.
Stretch & Fold / Coil Fold: Gentle folding techniques you do during bulk fermentation instead of kneading. They build gluten strength without deflating your dough.
Bulk Fermentation: The first big rise after mixing everything together. This is when your dough develops structure, bubbles, and flavor.
Shaping: Forming your dough into its final shape (I stick to a round *boule*) after bulk fermentation. Proper shaping gives your loaf surface tension and helps it rise evenly in the oven.
Banneton: A woven proofing basket that helps shape your dough and create those pretty flour rings on the crust. A bowl lined with a tea towel works just as well.
Proof: The final rest before baking and your dough’s last chance to puff up and develop flavor. You can proof at room temperature or in the fridge overnight (called a “cold proof”). I prefer a cold proof!
Score: Right before baking, you’ll slash the top of your dough with a razor. It controls where the loaf expands and lets you add your personal design.
Crumb: The inside texture of your baked loaf. Those little (or big!) air pockets that tell you how open and airy your bread turned out. Tight crumb = chewy sandwich bread; open crumb = light and lofty.
What You’ll Need
Ingredients
500g bread flour (or AP)
350g water (around 80°F)
110g active sourdough starter (fed and bubbly)
10g salt
Tools
Digital kitchen scale
Danish dough whisk
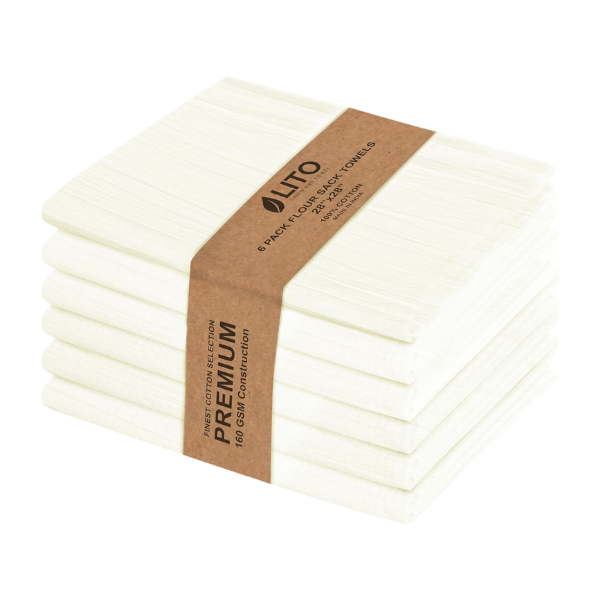
Clean kitchen towel
Mixing bowl (use a clear glass bowl so you can see the bubbles forming later on)
Bench scraper or spatula
Proofing basket (banneton) or a bowl lined with a towel
Scoring Knife
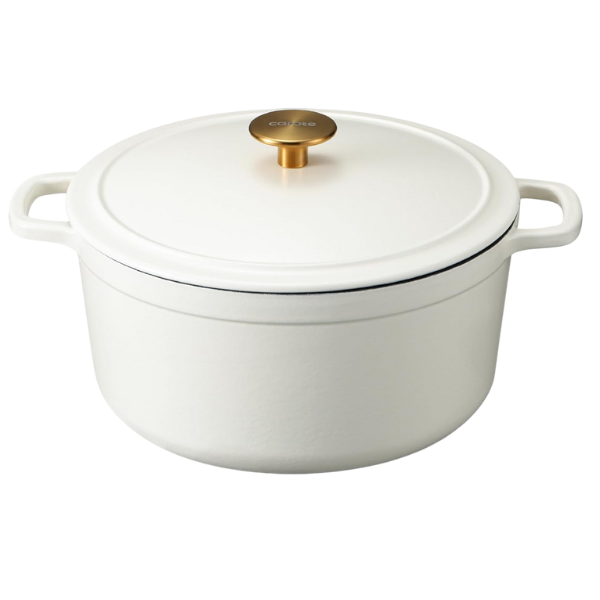
Dutch oven with lid
Parchment paper
Cooling rack


The Recipe
Step 1: Mix dough (45 min)
Whisk together your 350g water and 110g active starter in a large bowl with whisk until dissolved. Add 500g flour and mix with your hands or a spatula until no dry bits remain. Cover and let rest for 45 minutes.
Your dough will look shaggy and rough and that’s okay! During this rest, the flour fully hydrates and starts developing gluten on its own.
Hauste Hint: If your kitchen is cool, place the bowl in your (off) oven with just the light on and the door cracked. It keeps the dough cozy for fermentation.
Step 2: Add Salt (and Strength)
Sprinkle 10g salt over your dough. Using your fingers, pinch and fold until it’s evenly incorporated. If the salt feels stubborn, drizzle in a few drops of water to help it dissolve.
Step 3: Stretch & Folds (3 rounds, 1 hour apart)
Over the next few hours, perform 3 sets of stretch and folds, about 1 hour apart. After each round, cover the bowl with a towel and place it in a warm spot (like near a sunny window or in the oven with the light on). This helps the dough relax and keeps fermentation steady between sets.
To do this:
Wet your hands to prevent sticking.
Grab one side of the dough, stretch it up, and fold it over itself.
Turn the bowl a quarter turn and repeat 3-4 times until you’ve gone all the way around.
Another fold I like to do is called a coil fold. You can mix one of these in if you’d like and see which method you prefer. To do a coil fold:
Wet your hands to prevent sticking.
Gently lift the dough from the center with both hands, letting it stretch and fold underneath itself as gravity helps it drop.
Once it drops a little back into the bowl, with a little force, slap the dough against the bottom to help it settle and build tension.
Rotate the bowl 90 degrees and repeat once more so the dough folds from all sides.
By the third round, the dough should feel smoother, stronger, and slightly jiggly which is a good sign of gluten development. This video shows both methods if you need a visual!
Step 4: Bulk Fermentation (1½-2 hours)
Let the dough rest undisturbed (covered) until it’s puffy, slightly domed, and has risen about 50-60%. You should see small bubbles forming along the sides.
To test readiness, gently press a floured finger into the dough. If it springs back slowly and leaves a small dent, it’s ready for shaping.
Step 5: Pre-Shape (20 min rest)
Turn the dough out onto a lightly floured surface. Using a bench scraper, shape it into a loose round. Let it rest uncovered for 20 minutes. This helps the gluten relax before the final shaping.
Step 6: Final Shape + Overnight Proof
After your dough has rested from the pre-shape, it’s time to give it its final form. Shaping gives your loaf that round, structured look and creates surface tension so it can rise tall in the oven.
Lightly flour your surface (and your hands), then use your bench scraper to gently flip the dough so the smooth side is down and the seam side is up. You should see little bubbles and feel that soft, jiggly texture.
To shape a boule (round loaf):
Gently stretch the dough into a loose rectangle. No need to flatten, just guide it out softly.
Fold the top edge (“head”) down toward the center.
Fold in the top two corners (“shoulders”) toward the middle so they overlap slightly.
Fold the bottom two corners (“knees”) up toward the center.
Finally, fold the bottom edge (“toes”) up and over the center, sealing it slightly with your fingertips.
Flip the dough over so the smooth side is now facing up.
Using your hands or bench scraper, cup and push the dough away from you then pull the dough back toward you in small “candy cane” motions to tighten the surface. Rotate and repeat a few times until the top looks smooth and firm.
hauste hint: I’m not sure where I heard this, but someone told me to remember shaping by singing “head, shoulders, knees, and toes” in my head. It’s silly, but it works every time.
Once shaped, place the dough seam-side up in a floured banneton or towel-lined bowl. Sprinkle a little flour on top to prevent sticking, then cover with a towel and refrigerate for 12-14 hours (up to 48).
This “cold proof” slows fermentation, deepens flavor, and makes the dough easier to handle and score in the morning.
Step 7: Bake (the next morning)
Preheat your Dutch oven at 475°F for 30 minutes.
Cut a piece of parchment paper large enough to fit your loaf.
Gently turn your dough onto the parchment (seam-side down).
Score the top with a sharp razor. One long slash is perfect for beginners. I don’t get too crazy with this part.
Add 3-4 ice cubes under the parchment before lowering your loaf into the hot Dutch oven.
Cover and bake 25 minutes at 475°F, then uncover and bake another 25 minutes at 450°F until golden and crisp.
If your bread looks golden before the second 25 minutes is up, you can check if it’s done by using a thermometer probe. If it reads 200°F, you can take it out early! If you don’t have one that’s totally fine, just go by the look of your loaf.
Once removed from the oven, take your loaf out of the dutch oven and let it cool on a cooling rack.
Let cool for at least 1-2 hours before slicing (hard, I know).
Hauste Hint: Cutting too soon can make the crumb gummy. Think of cooling as part of the bake, it’s when the structure fully sets!
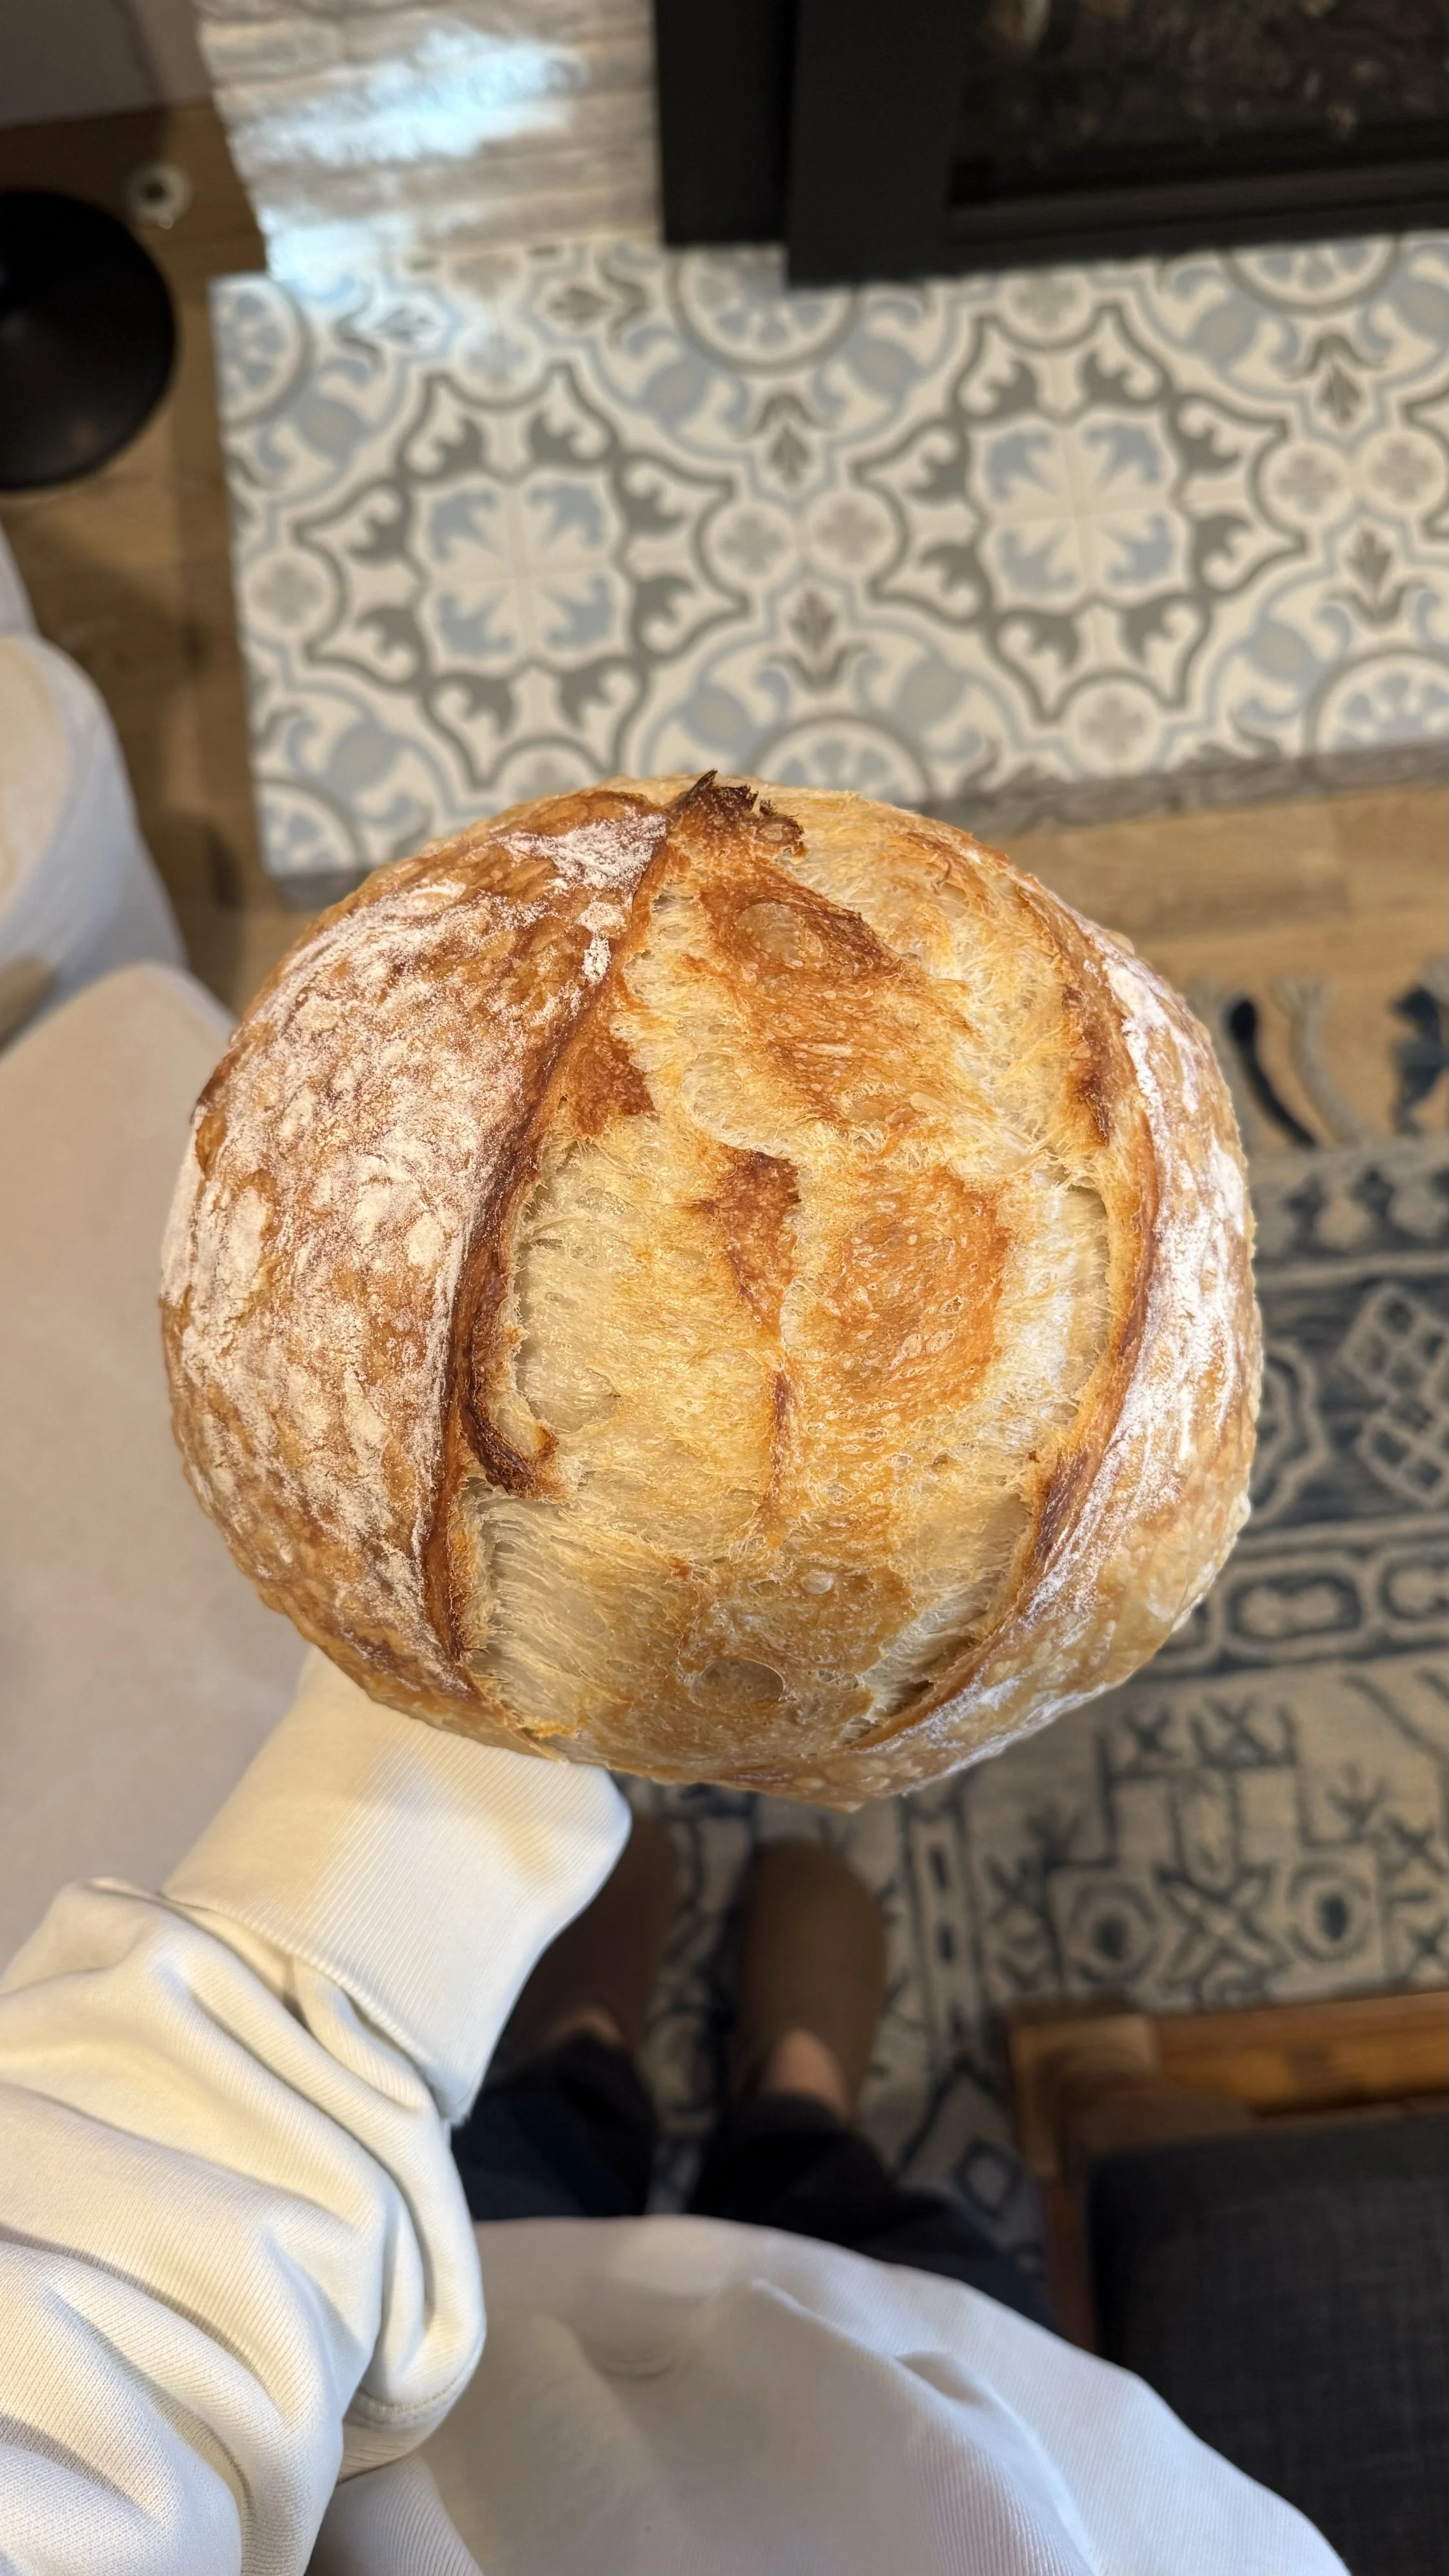
How to Know It’s Baked Perfectly
✔️ The crust should be deeply golden and crisp.
✔️ The loaf should sound hollow when tapped on the bottom.
✔️ The crumb (inside) should be slightly moist with even air pockets (not dense, not doughy).
Common Mistakes (& Fixes)
Flat loaf: Dough was under-proofed. Give it more bulk fermentation next time.
Dense crumb: Starter may have been weak, try feeding it 8–12 hours before mixing.
Burned bottom: Add a baking sheet underneath your Dutch oven to diffuse heat.
Pale crust: Try baking 5-10 minutes longer uncovered for deeper color.
Hauste Hint: Keep notes after each bake. Small tweaks (temperature, timing, hydration) are what turn a good loaf into your perfect loaf.
Storing Your Sourdough (A Game-Changing Tip)
Up until about my tenth loaf, when I finally felt like I had my recipe just right, I used to leave my sourdough on the counter, slowly watching it go stale while I felt immense pressure to eat as much as possible or pawn it off on friends and family. Here’s the thing: since homemade sourdough doesn’t have preservatives, it goes stale fast. Like, blink-and-it’s-dry fast. Which is why this next step changed everything for me:
After the loaf cools completely, I slice the entire thing and store the slices in a large freezer bag. Straight into the freezer.
Not only does it free you from the three-day sourdough diet after every bake, but (bonus!) it’s apparently scientifically better for you to freeze gluten before eating it. Something about starches and digestibility but that’s above my pay grade!
To reheat, I grab a slice straight from the freezer and pop it in my toaster oven (note: I haven’t tried this in a regular toaster). Toast for about 4-5 minutes, just enough for it to thaw and warm through without over-toasting. The result is a perfectly soft, fluffy inside with that slightly crisp, just-baked edge. It genuinely tastes like it came out of the oven a few hours ago.
You Did It!
If you made it this far, congratulations! Every loaf teaches you something new, so don’t stress about perfection. Just keep baking, observing, and having fun with it.
Once you’ve nailed your go-to loaf, the fun really begins. You can start experimenting with mix-ins and flavors (stay tuned for some creative sourdough variations coming soon)!
And if you have any questions (or just want to show off your loaf), DM me on Instagram! I love seeing your bakes!
Hauste Hint: Bread is meant to be shared! drop it off to a friend, neighbor, or bring a loaf to your next dinner party.