
How to Make a Sourdough Starter (and Keep It Alive)
A step-by-step guide to building your first sourdough starter: what it is, how to feed it, & how to know when it’s ready to bake.
I started making sourdough earlier this year. When I get the random urge to try a hobby, I have to give it my full effort and go the extra mile (thanks mom!!!). Most of those hobbies are short-lived—and there’s nothing wrong with that! I always learn something along the way. But sourdough has held my interest long enough to say it’s not just a quick obsession.
I love it because it combines your brain, your hands, and your heart. As cheesy as that sounds, I’m drawn to hobbies that challenge your mind a bit and get you out of autopilot. It’s meditative and a little messy, something to keep your hands busy (and off your phone). And my love language is gift giving, so nothing hits quite like handing someone a warm, homemade loaf.
Before we dive into the dough itself, we’ve got to start with the starter. If you’ve ever wondered how to make a sourdough starter from scratch, it’s simpler than it sounds. All you need is flour, water, and a little patience.


What Even Is a Sourdough Starter?
A sourdough starter is, at its simplest, just flour and water. But really, it’s a living ecosystem (stay with me here…), a tiny world of wild yeast and bacteria working together to make your bread rise, deepen in flavor, and become something that feels a little magical every time you bake.
Before instant yeast existed, this was how bread was made. Starters were passed down through families, shared between neighbors, and carried across oceans. It’s humbling to think that bakers thousands of years ago were doing the exact same thing: mixing flour and water, waiting, watching, and trusting time.
What makes a starter so special is that it’s unique to you. The wild yeast and bacteria in your starter come from the flour you use, your hands, and even the air around your kitchen. So no two starters are the same, they’re little microbial fingerprints of your environment. My starter in Sacramento will never taste exactly like someone’s in New York or Paris, and that’s kind of the beauty of it.
When you mix flour and water, those wild yeasts and bacteria start to feast on the natural sugars and starches, producing gas (for rise) and acids (for flavor). With regular feedings, they grow into a balanced culture that’s strong enough to leaven bread entirely on its own, no commercial yeast required.
So yes, it’s science. But it’s also art. And maybe even a little bit of magic.
Hauste Hint: If you ever feel like your starter is moody or unpredictable, remember that it’s literally alive. Treat it with a little patience (also name it, it helps!) and it’ll reward you every time you bake.
Two Ways to Begin Your Sourdough Starter
Option 1: Adopt from a Friend
If you’re lucky enough to know someone who bakes sourdough, ask for a small scoop (around 30–50g).

Once you bring it home:
Feed it equal parts flour and water (e.g., 50g flour + 50g water).
Let it sit at room temperature for 6–8 hours.
Once it doubles and looks bubbly, it’s ready to bake or to store in the fridge.
I actually got my starter from a friend (thank you Paige!) and just worked on building from there. Making my own starter from scratch didn’t end up working for me, but that’s not to say it won’t for you! If you don’t have a friend with an established starter, you can buy dehydrated ones on Etsy, TikTok Shop, or even from creators who ship their starter for just the cost of postage.
Option 2: How to Make a Sourdough Starter from Scratch
It takes about 5-7 days to create your own sourdough starter from nothing but flour, water, and patience. Here’s how my schedule looked when I built mine:

Day 1: Initial Mix
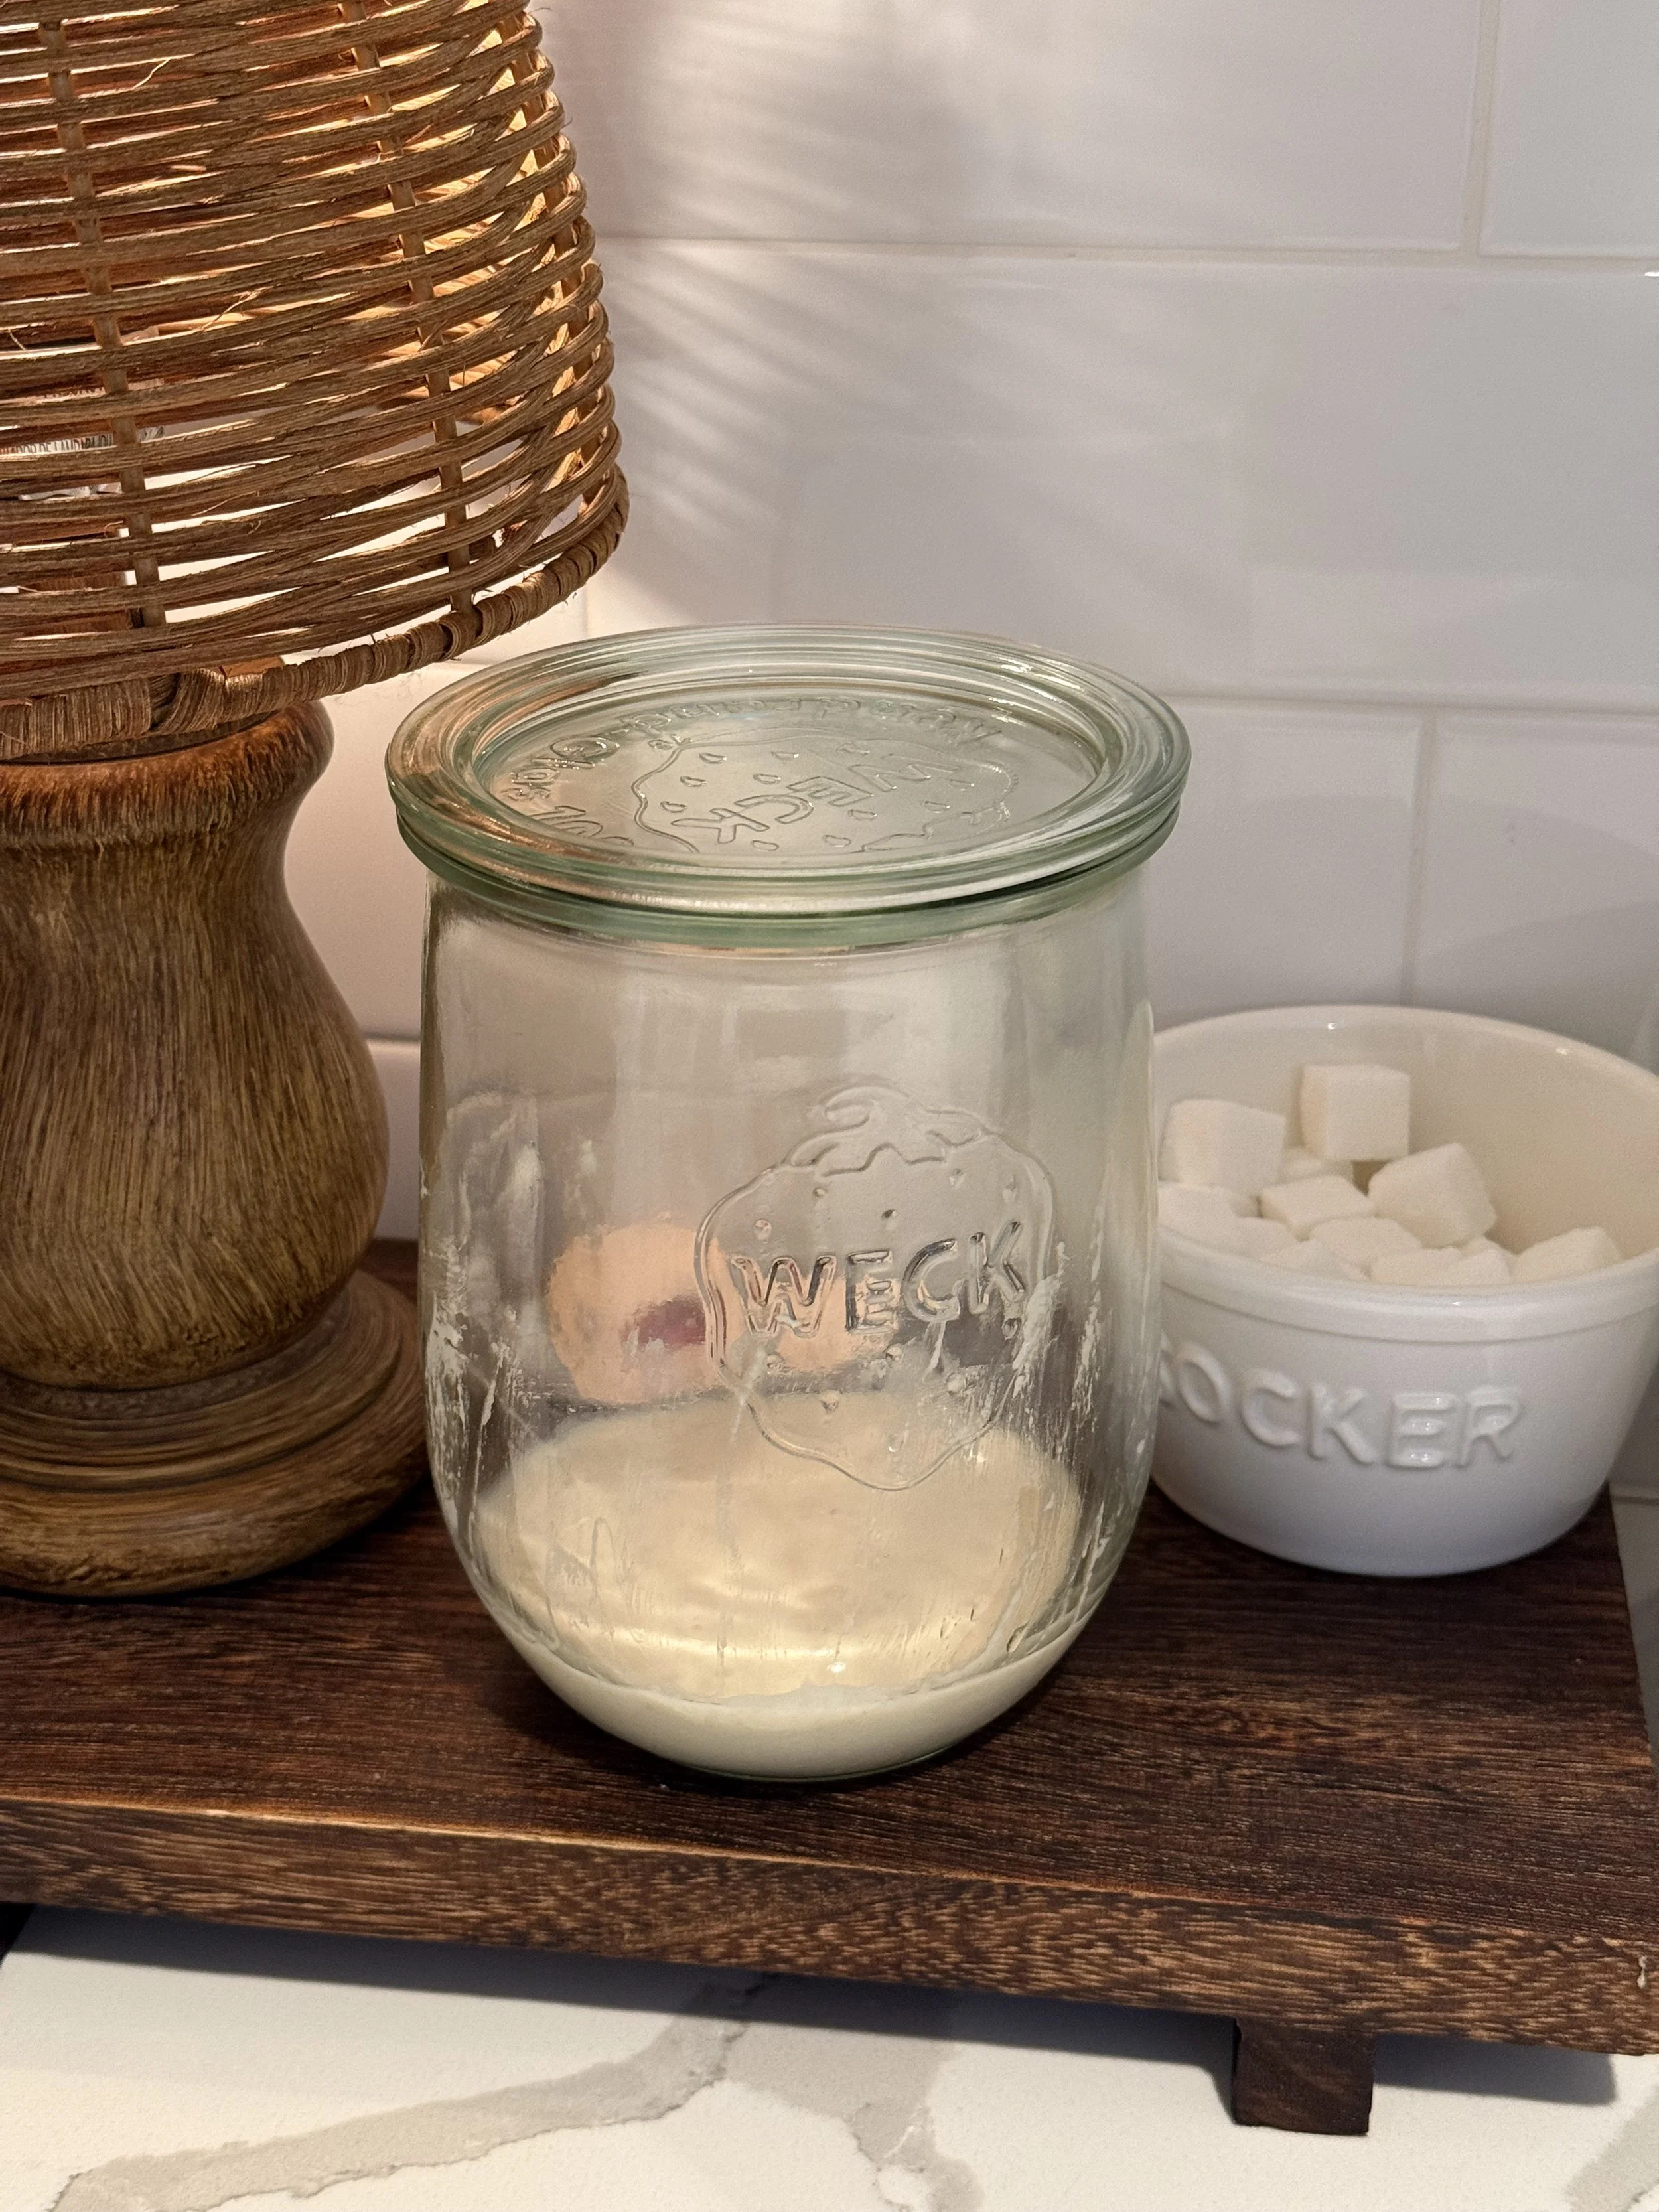
Mix 50g flour (AP or bread flour works best) with 50g water (around 75°F) in a clean glass jar. Stir until smooth, like a thick pancake batter. Cover loosely with a cloth or lid and let sit at room temperature. You might see a few tiny bubbles by bedtime, that’s a good sign!
Day 2: First Feeding
Check for bubbles or a faintly tangy smell. Even if it’s quiet, move forward.
Discard about half (around 50g) and feed with 50g flour + 50g water. Stir and cover again.
Day 3-4: Building Activity
Continue discarding half and feeding 50g flour + 50g water every 12 hours. By now, you should see more bubbles and a mild sour smell (that’s good!).
Day 5-6: Strengthening + Float Test
Your starter should now rise and fall predictably and smell pleasantly tangy.
Keep feeding twice a day (morning and evening). When it doubles in 4-6 hours and passes the float test (a small spoonful floats in water then it’s ready to bake with).
Hauste Hint: If your kitchen runs cold, place your jar in the oven with just the light on and the door cracked. It creates the perfect cozy environment for fermentation.
How to Feed & Maintain a Sourdough Starter
Once your starter is established, you’ll move into a regular feeding rhythm. The goal is to keep just enough starter alive and healthy without creating too much discard, then build it up larger when you’re ready to bake.
For Ongoing Maintenance (Room-Temp Starter)
If you bake several times a week, keep your starter at room temperature.
Keep 20g starter in your jar.
Feed with 40g water and 40g flour (a 1:2:2 ratio).
Stir well, cover loosely, and let it rise at room temp until doubled.
Feed every 24 hours (or sooner if it peaks and starts to fall).
For Refrigerated Starter
If you bake once a week or less:
Store your starter in the fridge between bakes.
Once a week, remove it and discard down to 20g.
Feed with 40g water + 40g flour.
Let it sit at room temp 4-6 hours until bubbly, then refrigerate again.
Pre-Bake Feed (to Wake It Up)
When you’re planning to bake, you’ll “build up” your starter to create enough active starter for your dough.
The night before baking:
Take your starter out of the fridge.
Discard all but 20g.
Feed with 80g flour + 80g water (1:4:4 ratio).
Stir, cover loosely, and let it rest at room temperature overnight (8-10 hours).
By morning, you’ll have around 180g of active starter which is enough to use about 110g in your dough and still have plenty left to keep your starter going strong.
Hauste Hint: The higher feed ratio before baking gives your starter extra strength. it’s like carb-loading before a marathon.
Sourdough Discard 101
Every time you feed your starter, you’ll remove a portion (usually about half). That’s called the discard.
You can toss it (sad!) or repurpose it in recipes like pancakes, crackers, muffins, or cookies.
In the past, I’ve kept my starter larger and ended up with tons of discard to use which can be really fun (and delicious) but not always practical. These days, I like to keep a leaner starter to minimize waste. Still, if you find yourself with extra discard you don’t know what to do with, here are some of my favorite ways to use it.

Hauste Hint: Don’t think of discard as waste, it’s just a different kind of ingredient. Slightly tangy, flavorful, and perfect for quick bakes.
How to Tell When Your Starter Is Ready to Bake
Your sourdough starter should:
✔️ Double in size within 4–6 hours after feeding
✔️ Smell pleasant and slightly tangy (not funky)
✔️ Be bubbly and airy throughout
✔️ Pass the float test
When it checks those boxes, it’s officially bake-ready!
Troubleshooting Your Starter
No bubbles?
It’s probably too cold! Move it somewhere warmer or use the oven-light trick.
Flat and lifeless after feeding?
It might be overfed or underfed. Let it rise and fall before the next feed so the yeast has time to eat. If you’re feeding too often, try waiting until it peaks before refreshing again.
Gray liquid on top?
That’s “hooch,” a sign your starter’s hungry. Feed it and it’ll bounce back. If there’s a lot, pour it off before feeding to avoid too much acidity.
Rising too quickly, then collapsing?
It’s likely very active (yay!) but needs thicker feedings. Try using a higher ratio (1:4:4) so it has more food to sustain itself longer.
Forming a dry crust on top?
It’s drying out from airflow. Cover it more tightly or use a lid instead of a cloth, just make sure it can still vent slightly.
Not rising much but still bubbly?
It may be too wet or too dry. Adjust your flour or water slightly until the texture is like thick pancake batter.
Hauste Hint : Starters are resilient. Most “issues” are just hunger, temperature, or timing. A few consistent feeds can fix almost anything.
Next Up: Baking!!!
Once your sourdough starter is alive and thriving, it’s time for the fun part: turning that bubbly jar of potential into a loaf of warm, golden bread.
Read this post for my go-to loaf recipe.